Facebook
 X
X
 Pinterest
 Copy Link
SOURCE: Windermere
Selling a home begins with understanding how much it’s worth. After an initial assessment, you may want to make some updates to increase the value of your property. There are several ways to do that, including boosting your curb appeal or making renovations with significant ROI potential. As you research potential projects, keep in mind that making your home more sustainable can boost its value to potential buyers. In today’s market, many buyers are looking for eco-conscious features that offer long-term savings, lower utility bills, and improved health and comfort at home. Making the right green upgrades can help your home stand out. Talk with your agent to identify which of these five upgrades makes sense for your home before it hits the market.
Five Green Upgrades that Increase Your Home Value
1. Energy-Efficient Appliances
It’s no secret that appliances use a significant amount of energy, which means there is plenty of opportunity to cut back on their output. Installing energy-efficient appliances can do wonders for creating a more eco-friendly home, while appealing to buyers who value sustainability. And as many cities move toward energy codes that limit or eliminate the use of natural gas, energy-efficient electric appliances are becoming an important part of future-proofing your home. When shopping around, look for appliances with high-efficiency or Energy Star certifications. They may cost more to purchase, but their ability to generate long-term savings is a concrete selling point.
2. Tankless Water Heater
As the shift toward eco-friendly appliances has picked up steam, so too has the preference for tankless water heaters. Whereas standard storage tank water heaters keep a reservoir of hot water at the ready, tankless water heaters heat your home’s water supply on demand. It’s similar to a new car that shuts off its engine when sitting idle, as opposed to an older car whose engine is running all the time. Tankless water heaters don’t come without their share of costs. An upfront investment will be required for purchase and installation, but it will deliver immediate savings on energy bills.
3. Solar Panels
There are many benefits to going solar, but for sellers, the positive effect solar energy has on home values is chief among them. A solar-capable home is a surefire way to drum up buyer interest. By taking care of the upfront installation costs, you allow the buyer to focus on the benefits of solar energy, i.e., the long-term energy savings, the reduced utility bills, and the reduction in the property’s carbon footprint. Depending on your location, you may also be eligible for local or federal tax credits, utility rebates, or other incentives that can offset these installation costs. Work closely with your real estate agent to understand how solar energy has affected home prices in your area to get an idea of the project’s ROI potential.
4. Water Filtration
Installing a home water filtration system is one of the best ways to cut down on your home’s waste while increasing its value. These filtration systems appeal to buyers for a variety of reasons. Of course, there are an array of health benefits to having filtered water running through the entire house. Buyers can be assured that the water is safe to drink, they will be bathing and showering in clean water, and there is a reduced risk of plumbing issues due to contaminated water. Beyond the personal health benefits, it can also cut down on bottled water costs and the amount of landfill waste produced within the home. Some whole-home water filtration systems also come with smart sensors that track usage, detect leaks, and monitor filter lifespan, adding a layer of convenience and long-term savings for homeowners.
5. Energy-Efficient Windows
Alternatives to traditional windows have become more popular in recent years. Energy-efficient windows are better insulated, which helps to regulate temperatures inside the home and protects against harmful ultraviolet rays. Their ability to help regulate your home’s heating and cooling leads to energy savings and reduced carbon emissions. Energy-saving windows can be highly valuable to potential buyers, especially if you live in a climate with extreme temperatures.
In addition to temperature regulation, many buyers also appreciate how modern energy-efficient windows help with soundproofing—a big plus in urban or suburban neighborhoods.
Bonus Upgrades to Consider
If you’re looking to go a step further, here are a few more eco-friendly upgrades that may increase your home’s value and appeal:
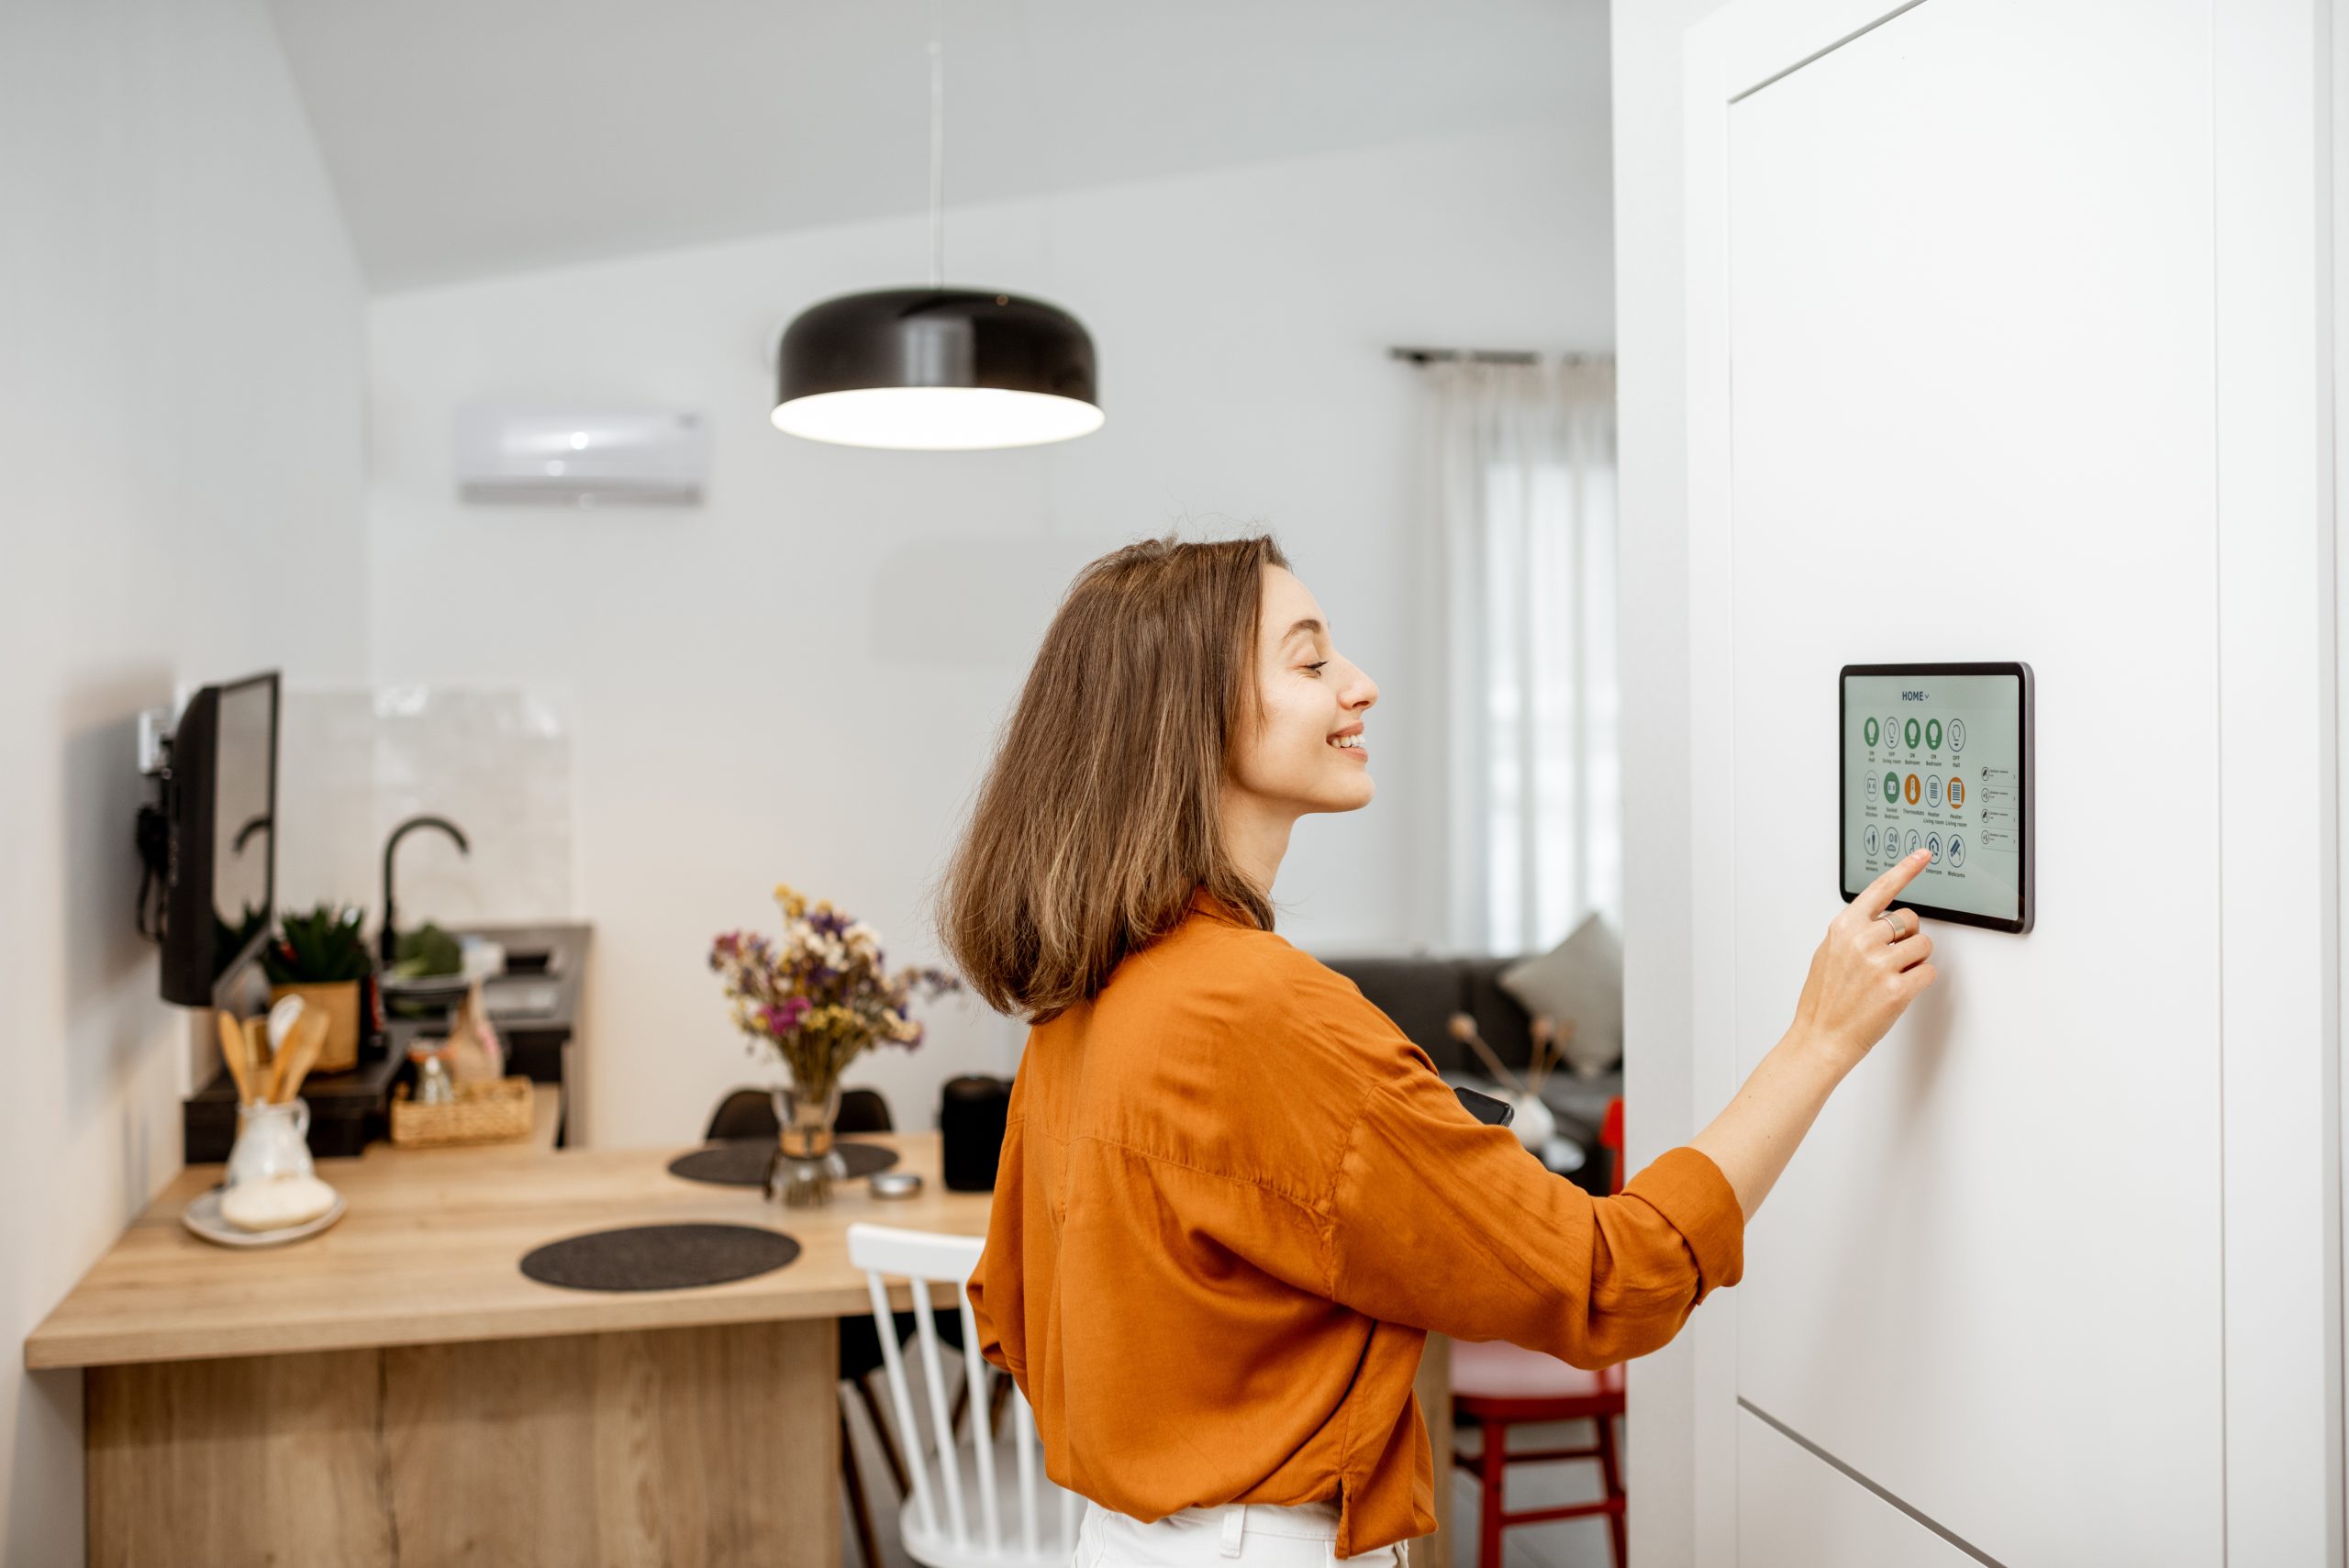
- Smart thermostats automatically adjust heating and cooling based on your schedule, saving energy and offering buyers convenience.
- Upgrading to high-efficiency insulation in walls, attics, or crawl spaces can significantly reduce energy costs.
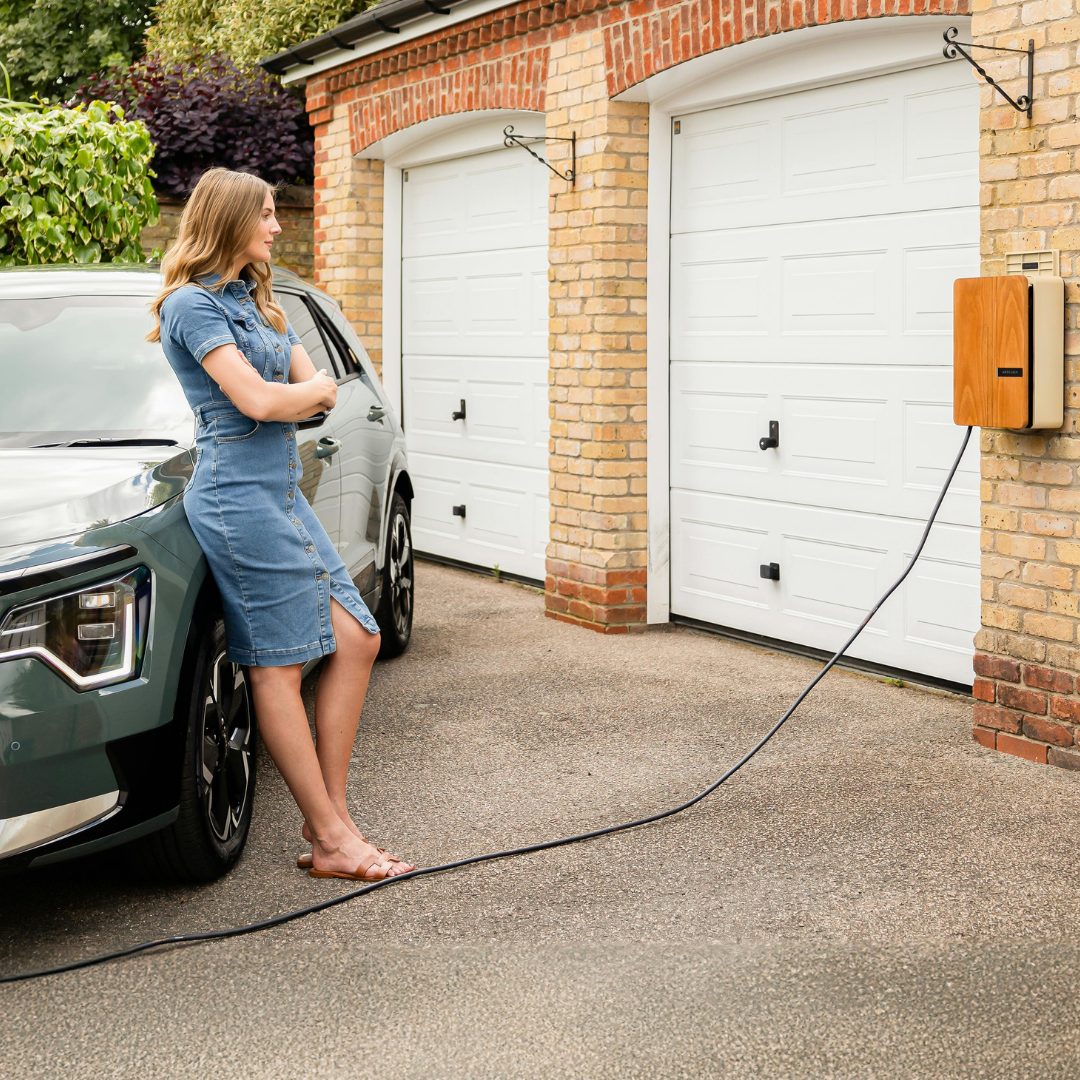
- With electronic vehicles becoming more common, having a dedicated outlet or charging setup at home is a huge plus for future-minded buyers.
SOURCE: Windermere