Facebook
 X
X
 Pinterest
 Copy Link
SOURCE: Windermere
American Country style captures something many homeowners are craving: warmth, authenticity, and a sense of home that feels both personal and timeless. Rooted in rural American heritage, this design aesthetic celebrates simplicity, functionality, and craftsmanship. It’s cozy without feeling cluttered, nostalgic without feeling dated, and welcoming in a way that instantly puts guests at ease.
Inspired by pastoral landscapes and traditional materials, American Country interiors embrace comfort first. But while its origins may be rural, this style adapts beautifully to modern living, whether you’re in a farmhouse, a suburban home, or even a city condo.
Defining Features of American Country Interior Design
Inviting, Comfortable Spaces
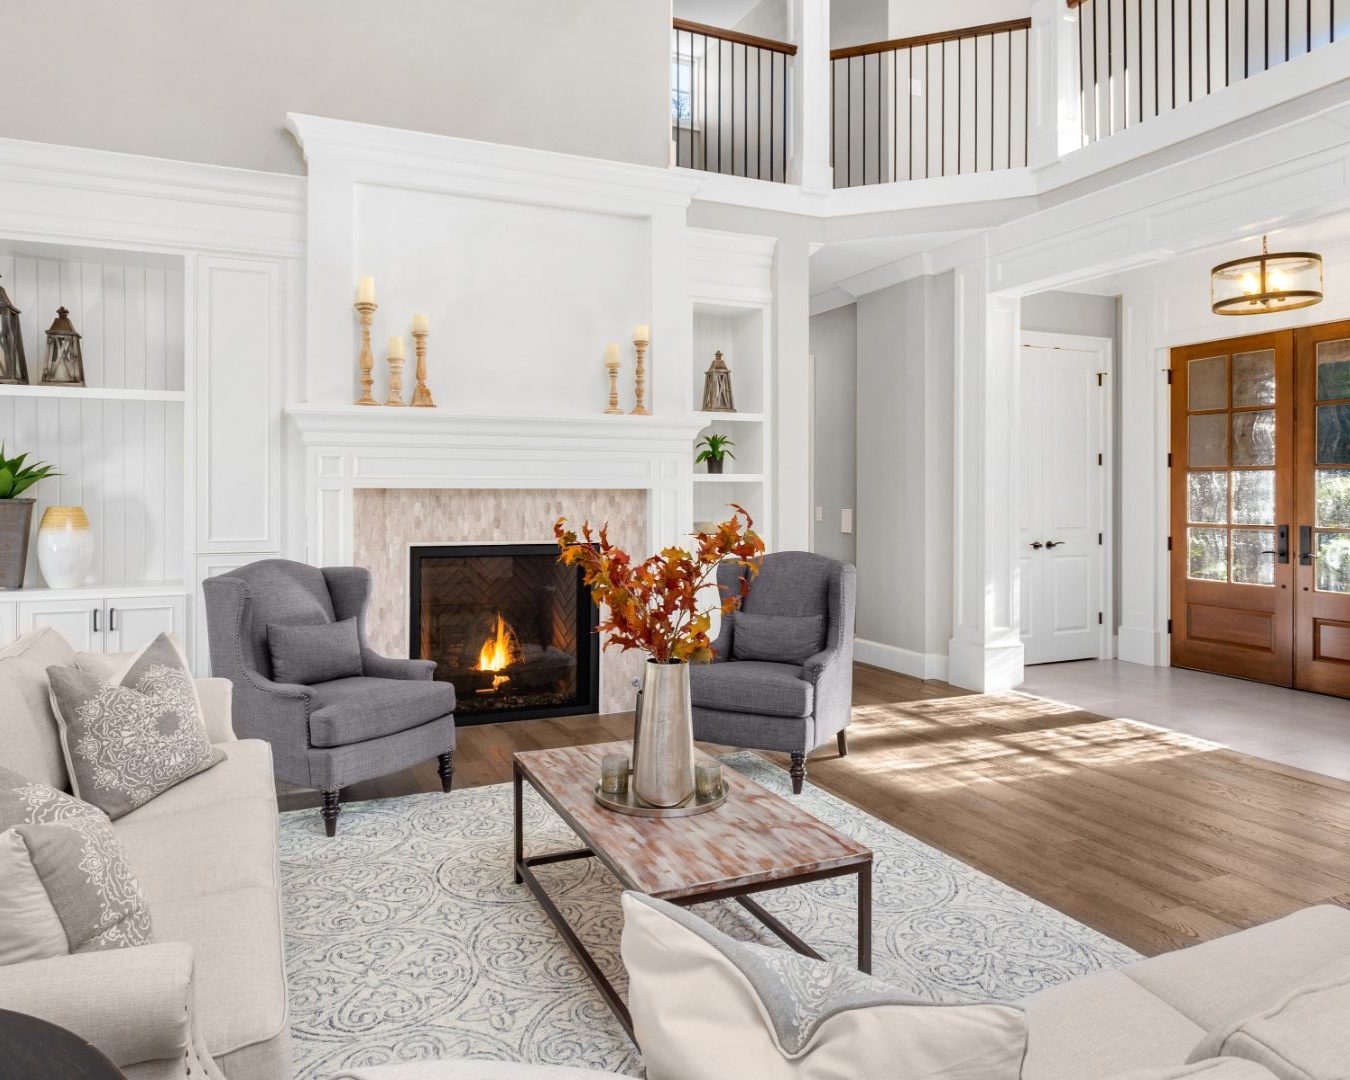
At its heart, American Country design is about creating rooms that feel relaxed and lived in. These are spaces where oversized sofas invite long conversations, where a stone or brick fireplace becomes the gathering point, and where nothing feels too precious to use.
Wood or stone floors ground the space, often softened by natural fiber rugs. Furniture tends to be substantial and comfortable. Think leather armchairs, slipcovered sofas, or simple patterned fabrics like gingham, stripes, or muted florals. The overall effect is welcoming and unpretentious.
A Warm and Muted Color Palette
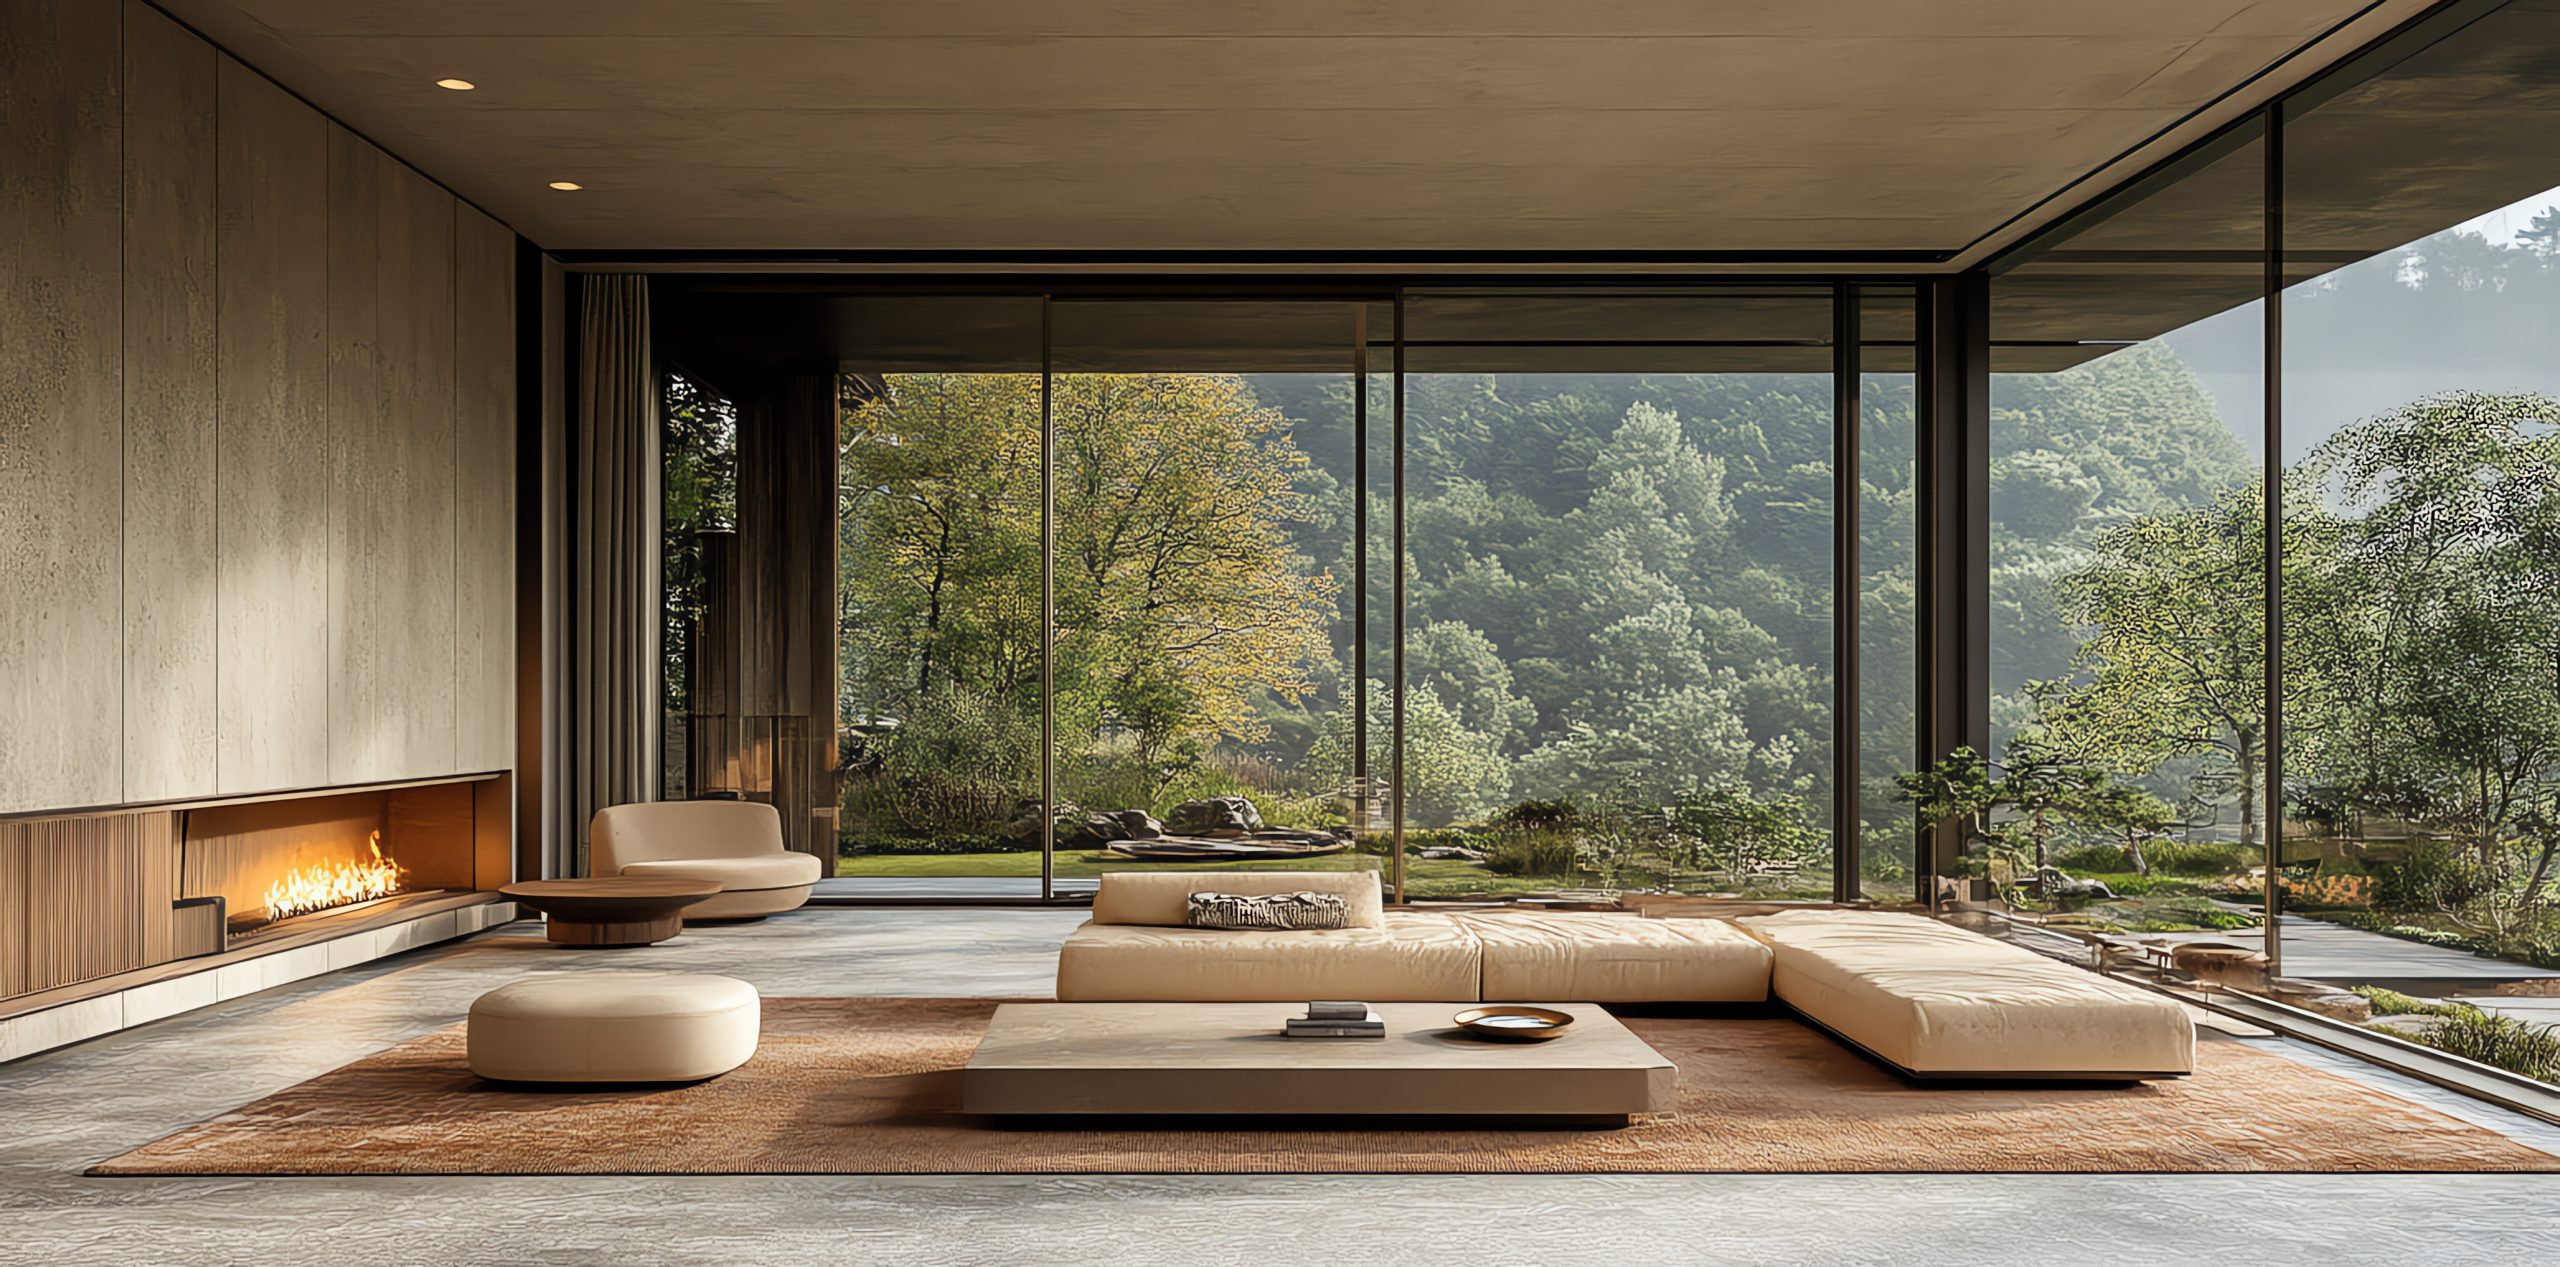
American Country interiors favor warm, inviting tones over stark contrasts. Beige and soft browns often serve as foundational colors for walls and upholstery. Cream-colored cabinetry or beadboard walls add lightness without feeling stark.
To round out the palette, muted greens and soft blues bring in subtle depth while maintaining the overall warmth. These colors feel connected to the natural landscape—fields, forests, and wide-open skies.
The key is restraint. Rather than bold statements, American Country style relies on layered neutrals and earthy tones that feel timeless and easy to live with.
Natural Materials and Craftsmanship
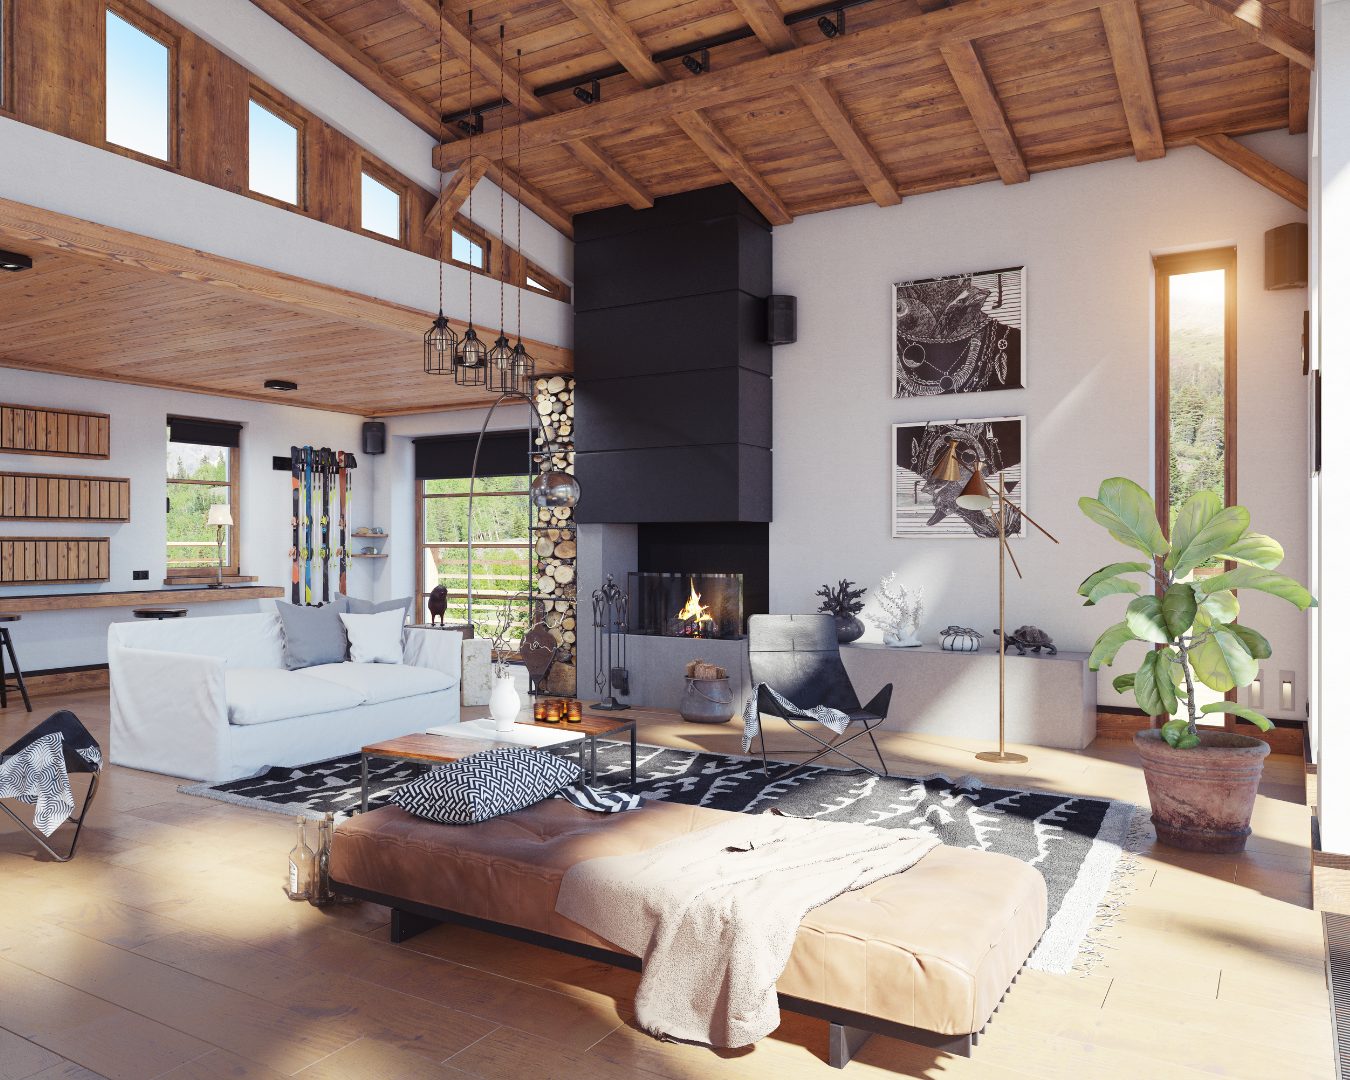
Traditional materials play a central role in American Country homes. Wooden furniture, whether it’s a large farmhouse dining table, Windsor chairs, or a well-worn rocking chair, reflects durability and simplicity.
Exposed ceiling beams, if your home has them, instantly elevate the look while honoring the style’s roots. Stone fireplaces, carved wood details, and hand-formed metal accents add depth and character.
Decorative elements are often functional as well as beautiful: pottery, woven baskets, mason jars, and wooden crates that double as shelving. These pieces feel collected over time rather than purchased all at once.
Textiles with History and Texture
Textiles are essential to achieving a true American Country feel. Handmade quilts layered across beds or draped over sofas add warmth and story. Patchwork pillows mix patterns in a way that feels intentional but not overly coordinated.
Natural fiber rugs, such as jute or sisal, bring texture underfoot while reinforcing the connection to organic materials. Floral and botanical prints, whether in wallpaper, framed artwork, or upholstery, introduce a gentle nod to the outdoors.
Antiques and Vintage Touches
American Country style thrives on pieces with history. A vintage dresser, a weathered wooden trunk used as a coffee table, or antique brass hardware can instantly add depth and authenticity.
Local antique shops and estate sales are often treasure troves for finding accessories that feel genuine. The goal isn’t perfection, it’s personality. A slightly worn finish or hand-crafted detail only enhances the charm.
Simple, Functional, Designed for Real Life
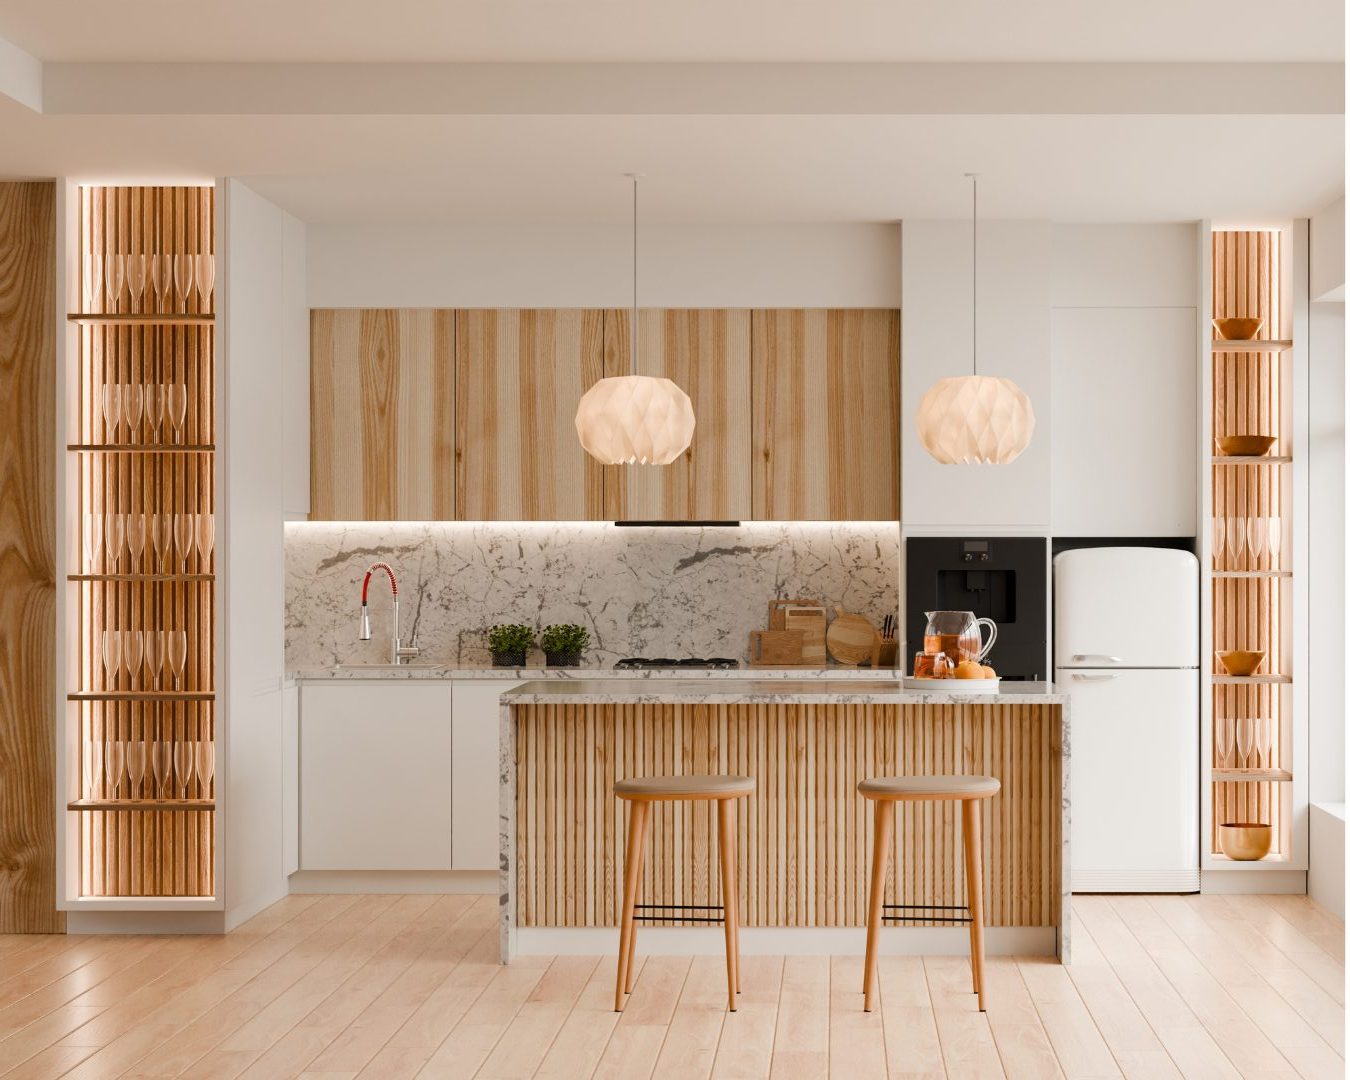
Above all, American Country design prioritizes practicality. Rooms are arranged for ease of movement and everyday use. Open shelving in the kitchen, for example, keeps essentials within reach while displaying beautiful dishware or preserved goods in glass jars. It’s a design philosophy that reminds us of how a home should support daily life.
If you’re drawn to interiors that feel warm, welcoming, and rooted in tradition, American Country might be the perfect place to start. For more design inspiration, tips, and trends, visit the design section of our blog.
SOURCE: Windermere